Want your Wilmette home to stop buyers mid scroll? In a market where many shoppers zero in on lifestyle, character, and convenience, how you present each room can change the outcome. With a smart plan, you can make stronger first impressions, shorten time on market, and protect your price. Below is a practical, North Shore–tuned guide to staging that shows you what to do, when to do it, and why it works. Let’s dive in.
Why staging matters in Wilmette
Wilmette moves fast and skews higher price. As of January 2026, Redfin reported a median sale price around $1.25 million, with short days on market, though different sources measure price differently by method and timing. You need buyers to see value quickly and clearly, both online and in person. View a current Wilmette market snapshot for context as you plan timing.
Local buyers are typically affluent and family-focused, with many decisions shaped by schools, village amenities, and preserved character. The Village highlights strong household incomes, high owner occupancy, and priorities like lakefront access and downtown walkability, all of which should inform your staging and marketing. See the Wilmette community profile for cues on what resonates.
Public spaces matter too. Gillson Park and the lakefront are frequent decision drivers, so highlight views, easy outdoor access, and entertaining potential in your photos and descriptions. If your home makes it simple to reach the water or enjoy the seasons, make that visible. Explore Gillson Park and the lakefront features when planning what to showcase.
Staging itself works. The National Association of REALTORS reports that a large share of buyer agents say staging helps buyers visualize living in a home, and many listing agents see shorter time on market for staged properties. These findings support a focused pre-list plan that pairs staging with professional photography. Read the summary of NAR’s staging insights here.
Where to invest for the best return
You do not need to overhaul everything to sell well. Remodeling’s Cost vs. Value research shows that targeted updates often recapture more of their cost than large upscale remodels. Think curb appeal, a new or freshly painted front door, a clean and neutral paint palette, lighting updates, and a minor kitchen refresh rather than a down-to-the-studs project. Explore typical payback trends in the Cost vs. Value report.
Plan a realistic staging budget. Industry benchmarks from the Real Estate Staging Association show median staging investments in the low thousands across broad samples, with documented gains in speed and performance for staged listings. For higher-end Wilmette homes, a more comprehensive package is common. Learn more about benchmarks and finding a qualified stager through RESA.
Finally, remember that buyers find you online first. Listings with high-quality, well-lit professional photos draw more views and earlier showing interest. Coordinate staging so it is installed before your photo shoot; this is a key sequence for premium results. A quick overview of real estate photo performance is available here.
Room-by-room staging plan for North Shore buyers
Focus first on the rooms buyers value most: the living room, the primary bedroom, and the kitchen. These spaces drive photos, showings, and offers.
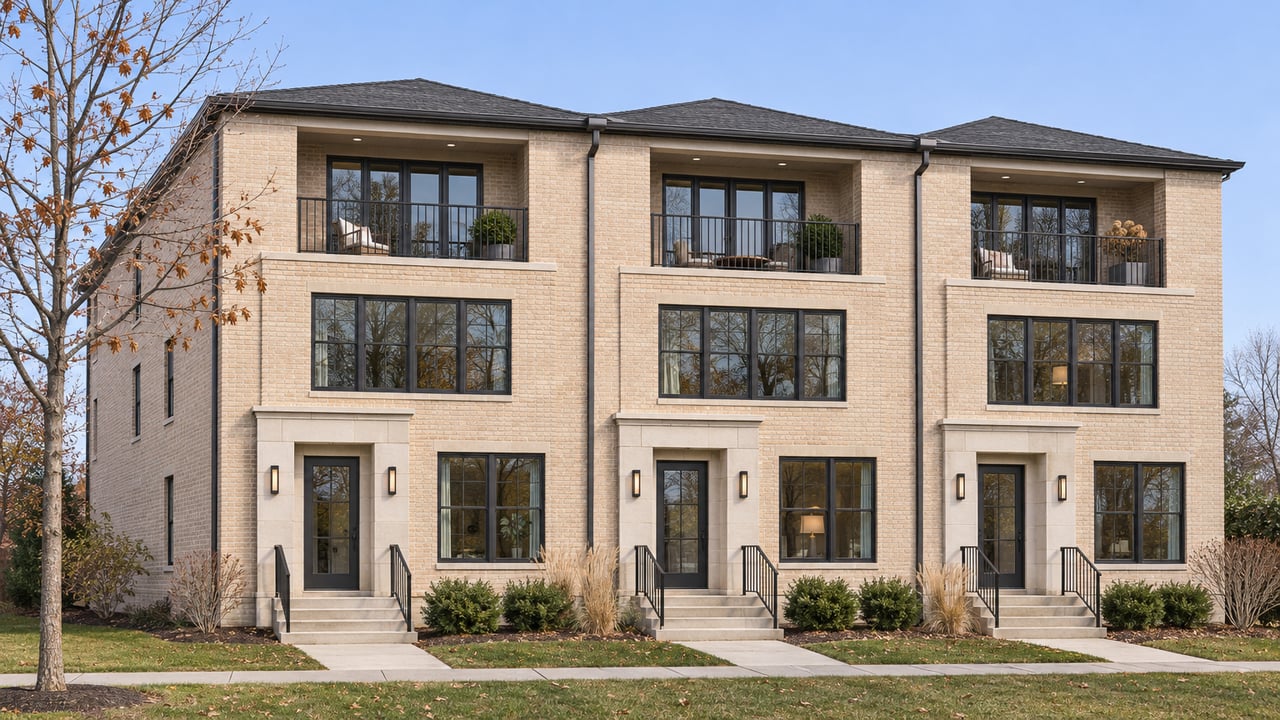
Entry and curb appeal
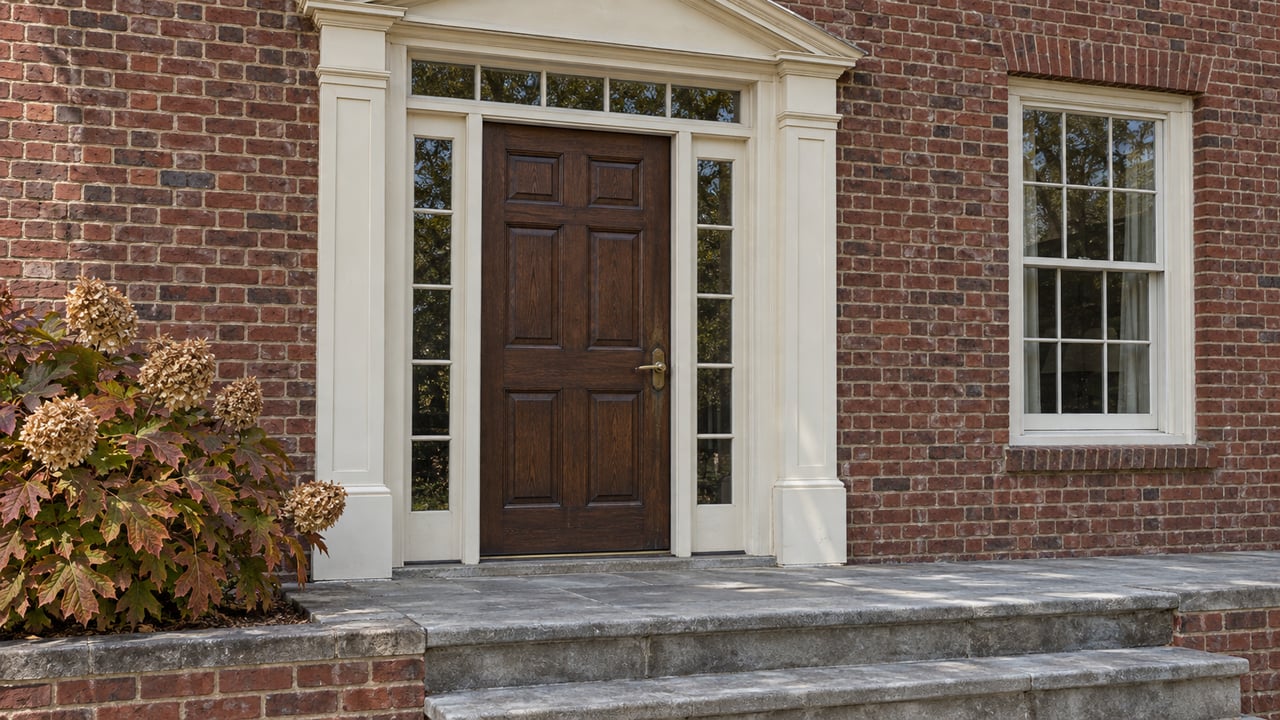
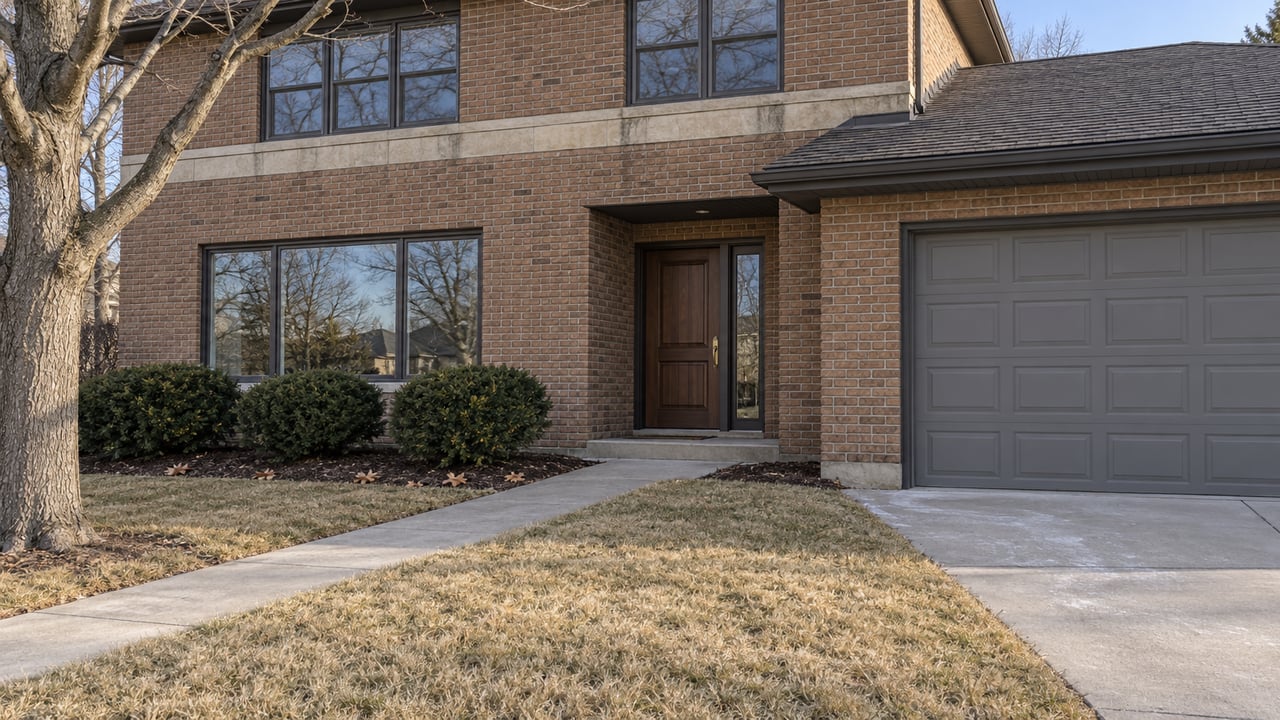
- Clean and repair the front walk, steps, and railings. Paint or replace the front door and update hardware to a cohesive finish.
- Refresh landscaping, add simple symmetrical planters, and verify lighting and house numbers look crisp at day and night.
- If the garage door reads dated in photos, replace it. It is a high-visibility upgrade with strong buyer impact.
- Photo tip: Capture a bright exterior hero shot, and consider a twilight image when the yard and façade lighting look their best.
Living room or great room
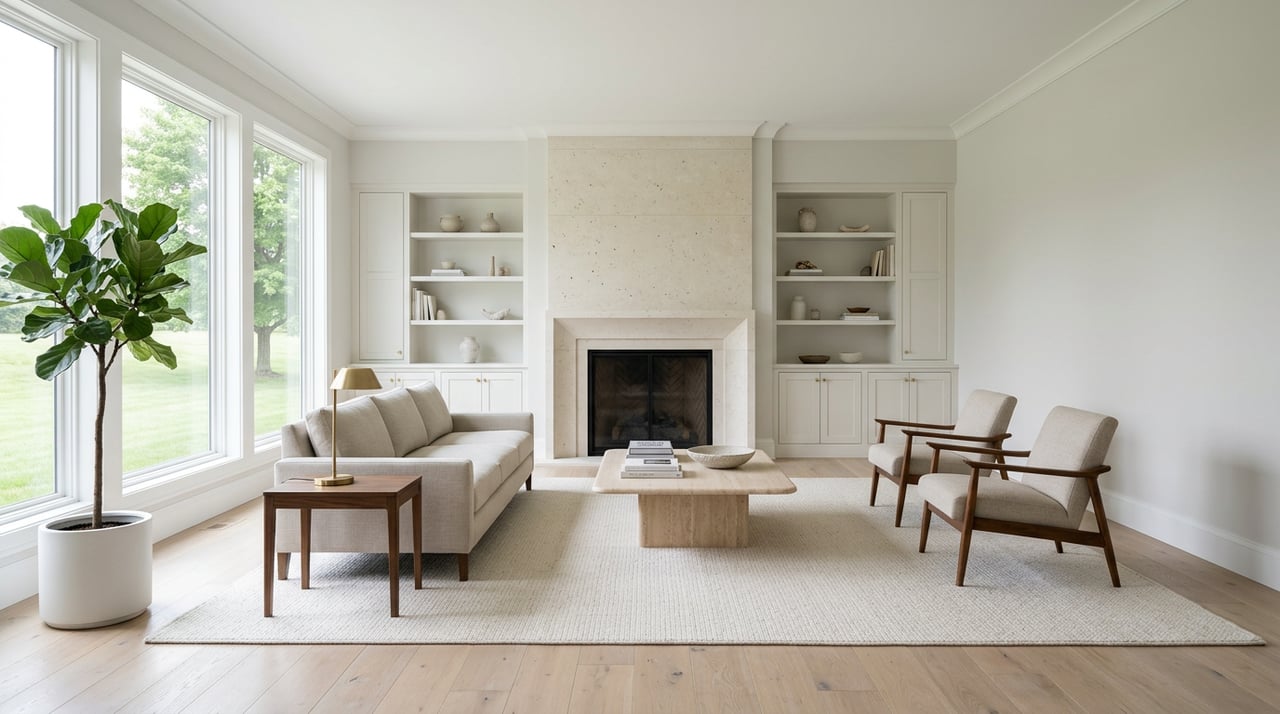
- Depersonalize, remove excess furniture, and create clear pathways. Keep wall colors soft, warm, and neutral to broaden appeal.
- Layer lighting with a mix of ambient, task, and accent sources. Style with a few high-quality accessories, not clutter.
- In historic homes, frame the fireplace and show off millwork. Let original details star rather than hiding them.
- Photo tip: Choose the angle that reveals sightlines to windows, fireplace, and any outdoor access.
Kitchen
- Deep clean, clear counters, and store small appliances. Swap dated hardware and lighting for simple, current options.
- If cabinets are sound, consider painting or refacing instead of a full remodel. A new faucet and a clean backsplash can lift the whole room.
- Stage minimal, elegant vignettes, like a small plant or a tray, and keep views to dining or family areas open.
- Photo tip: Shoot from the angle that best shows cooking, prep, and entertaining flow in one frame.
Primary bedroom
- Make the bed hotel-style with layered neutral bedding and one accent color. Limit personal items and maximize natural light.
- Ensure easy circulation around furniture and show organized storage. Calm and simple plays best in this room.
Bathrooms
- Re-caulk, brighten grout, and polish fixtures. Replace worn towels with fresh white sets and add a small tray of spa-like items.
- Neutralize bold colors and remove countertop clutter. Small, clean updates go a long way.
Home office or flex spaces
- Define a clear function with a desk, ergonomic chair, good task lighting, and a plant.
- Keep backgrounds clean for photos and virtual tours. Functional workspaces continue to matter to buyers, per industry surveys from NAR.
Basement or lower level
- Clean thoroughly, brighten with LEDs and light wall colors, and define zones for media, play, fitness, or guests.
- Stage the primary living area downstairs, even with minimal furniture. Focus on function and freshness over expensive build-outs.
Outdoor rooms and lake-leaning features
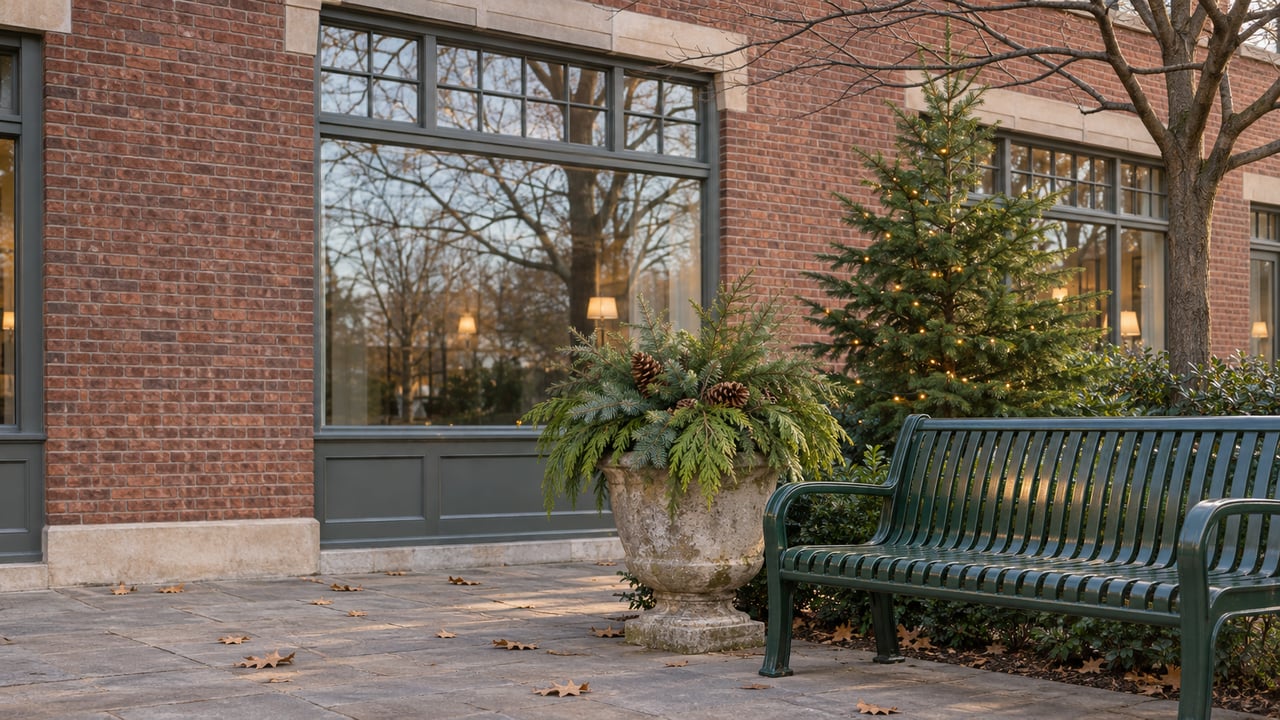
- Stage dining and seating on patios or terraces, and edit down accessories so the space feels open and easy to maintain.
- Mow, edge, and prune. If you are near the lake or parks, highlight how outdoor living extends your home’s lifestyle.
- Photo tip: Capture exterior entertaining areas at golden hour for warmth and depth.
Showcase historic Wilmette character
Many Wilmette homes carry early 20th-century details, from rich millwork to original hardwood floors and beautiful mantels. Preserve and spotlight these features in both staging and photography. Arrange seating to frame a fireplace, style built-ins as reading or display nooks, and keep window lines visible rather than hidden by heavy drapery. For local context on house histories, browse the Wilmette Public Library’s resources.
Keep finishes neutral without erasing character. Choose warm, light wall tones that complement original woodwork, keep trim crisp, and select furniture scaled to room proportions so the architecture reads cleanly. If floors look tired, refinishing often wins attention and value without the cost of full replacement, aligning with Cost vs. Value principles.
Finally, let staging tell a lifestyle story. A tidy mudroom with organized storage, a welcoming porch vignette, and a beautifully set outdoor table suggest weekends by the lake and easy entertaining. These subtle cues reinforce what North Shore buyers seek: comfort, connection, and quality.
Timeline and checklist to list with confidence
A little structure reduces stress and helps you hit the market ready.
- 8–12+ weeks out: Meet with your agent to set goals, review a pre-list inspection, and scope repairs and updates. For any work that may need permits, contact the Village’s Community Development team early to confirm requirements.
- 4–6 weeks out: Complete major repairs and start cosmetic updates like paint, hardware, and lighting. Finalize your staging plan and book a RESA-trained or experienced local stager. Find guidance at RESA.
- 1–2 weeks out: Finish landscaping and curb appeal touch-ups. Do a deep clean, then schedule staging install 1–3 days before professional photography so images match what buyers see in person. Industry analysis shows quality, well-lit photos increase listing views; see an overview here.
- Listing week: Go live with pro photos, a clear floor plan, and targeted copy that notes lifestyle highlights like lake access, parks, and commuter options. Optimize showing windows during the first 7–14 days to capture early market energy.
Budget notes and best practices:
- Expect staging investments in the low thousands for many homes, with higher budgets common for full-occupancy or luxury packages in Wilmette. Ask about pay-at-close options if helpful.
- Get 2–3 bids for trades, verify licenses and insurance, and confirm timelines in writing. Prioritize high-ROI cosmetics over time-consuming projects that may not recoup.
- Provide your photographer a shot list: a front exterior hero, living room hero angle, kitchen hero, primary suite, main outdoor entertaining area, and any view or walkout that shows lifestyle.
Quick staging checklist
- Declutter and depersonalize main rooms, then edit furniture for flow.
- Neutralize wall colors, update lighting and hardware, and deep clean.
- Elevate curb appeal with a fresh door, tidy landscaping, and clear house numbers.
- Stage the living room, primary bedroom, and kitchen first for photos.
- Define a home office or flex space with good lighting and simple styling.
- Refresh bathrooms with new caulk, clean grout, and spa-like textiles.
- Style outdoor areas for dining and seating, then shoot at golden hour.
- Install staging before professional photography, then launch.
Final thoughts and next steps
Staging is the simplest lever you can pull to highlight your home’s strengths in a competitive Wilmette market. With targeted updates, thoughtful styling, and great photos, you present a lifestyle that North Shore buyers respond to right away. If you want a hands-on partner to coordinate stagers, contractors, timelines, and photography, reach out. Connect with Andra O'Neill for a tailored plan, or start with our Get an Instant Home Valuation.
FAQs
What should I stage first in a Wilmette home?
- Prioritize the living room, primary bedroom, and kitchen for the greatest buyer impact and strongest photos, a focus supported by NAR’s staging findings.
Do I need to remodel my kitchen before listing?
- Not usually; Cost vs. Value research favors modest refreshes like hardware, lighting, counters, and cabinet painting or refacing over full upscale remodels for percentage recapture.
How much does staging cost for North Shore homes?
- Industry benchmarks show median spends in the low thousands, with higher budgets common for full-occupancy or luxury packages; RESA also notes programs that allow payment at close.
When should photos happen relative to staging?
- Stage first and photograph second, ideally 1–3 days after staging install, so your listing images reflect exactly what buyers will experience at showings.
How do I highlight historic character without over-modernizing?
- Keep finishes neutral and scaled to the rooms, spotlight original woodwork and mantels, and arrange seating to frame architectural features so they read clearly in photos and tours.